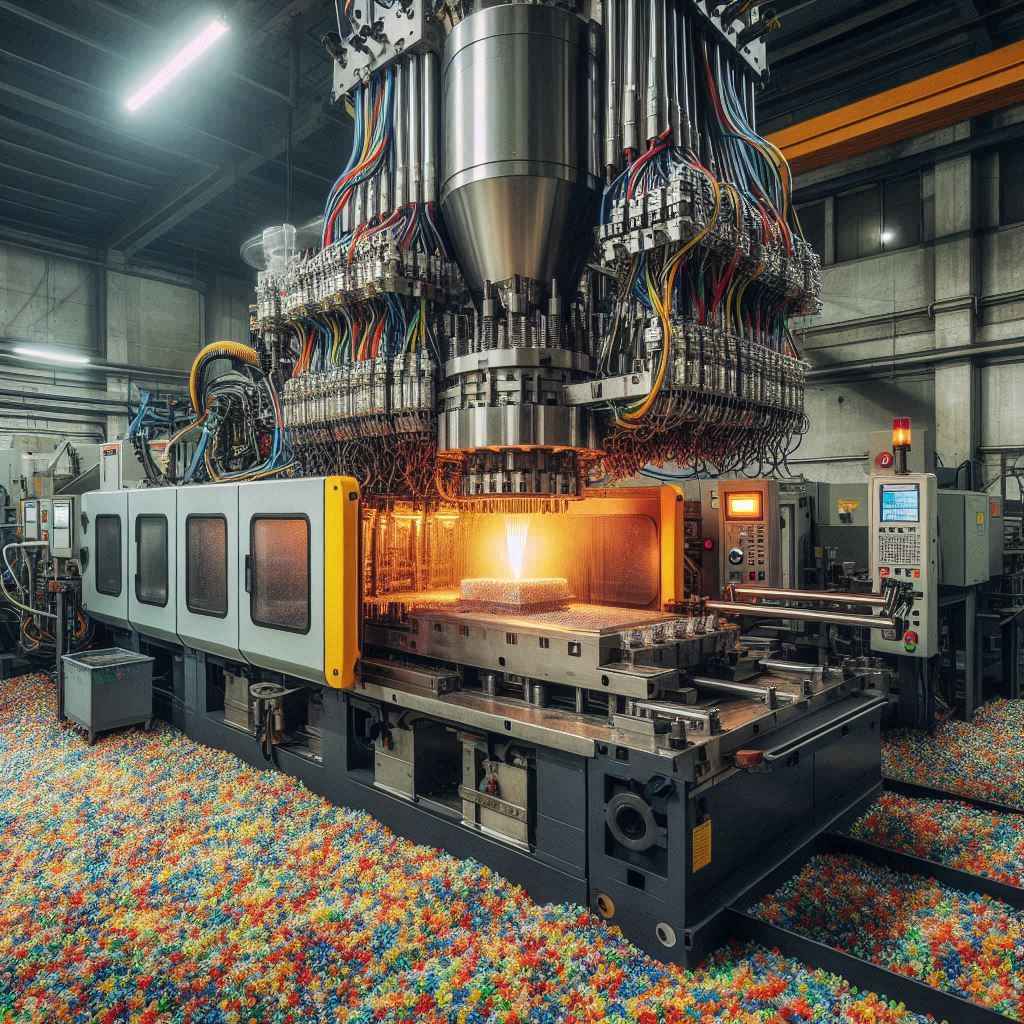
Injection moulding is a critical manufacturing process that transforms raw materials into finished products with precision and efficiency. However, like any complex machinery, injection moulding machine can encounter various problems that affect their performance and output quality. In this article, we’ll explore some of the common issues faced by injection moulding machines and provide practical solutions to rectify these challenges.

1. Understanding Injection Moulding Machine
Injection moulding machines operate by injecting molten plastic into a mould to create parts. This process involves several components, including the hopper, screw, barrel, and mould. Understanding the function of each part can help diagnose problems more effectively.
Key Components
- Hopper: Stores the plastic pellets before they enter the barrel.
- Screw: Melts and moves the plastic towards the mould.
- Barrel: Contains the heated plastic as it melts.
- Mould: Shapes the plastic into the desired form.
2. Common Issues with Injection Moulding Machines
While injection moulding machines are robust, several issues can arise during operation. Here are some of the most common problems:
2.1. Poor Surface Finish
One of the most noticeable problems in injection moulded parts is a poor surface finish. This can manifest as roughness, blemishes, or uneven surfaces.
Causes:
- Incorrect mould temperature
- Contaminated materials
- Poor mould design
Solutions:
- Adjust the mould temperature according to the material specifications.
- Ensure that the raw materials are clean and free from contamination.
- Re-evaluate the mould design to improve surface quality.
2.2. Short Shots
Short shots occur when the mould is not completely filled, resulting in incomplete parts.
Causes:
- Insufficient injection pressure
- Low melt temperature
- Incorrect screw speed
Solutions:
- Increase the injection pressure settings.
- Raise the melt temperature to ensure better flow.
- Adjust the screw speed to optimize the filling process.
2.3. Flashing
Flashing is when excess material seeps out of the mould, creating unwanted thin edges.
Causes:
- Over-clamping force
- Mould misalignment
- Worn or damaged mould components
Solutions:
- Reduce the clamping force to prevent excess material from escaping.
- Regularly check and realign the mould to ensure proper fit.
- Inspect the mould for wear and tear, replacing parts as necessary.
2.4. Warping
Warping occurs when the final product has a distorted shape, often caused by uneven cooling.
Causes:
- Inconsistent cooling rates
- Incorrect material selection
- Poor mould design
Solutions:
- Optimize cooling channels to ensure uniform cooling.
- Select materials with lower shrinkage rates for better dimensional stability.
- Redesign the mould to facilitate even heat distribution.
2.5. Sink Marks
Sink marks are depressions that appear on the surface of the finished product, typically due to improper cooling and solidification.
Causes:
- Inadequate packing pressure
- Low mould temperature
- Thick wall sections
Solutions:
- Increase the packing pressure during the injection process.
- Adjust the mould temperature to allow for better cooling.
- Optimize the part design to minimize wall thickness variations.
3. Diagnosing Injection Moulding Problems
To effectively solve issues with injection moulding machines, it’s essential to perform a systematic diagnosis. Here are some steps to follow:
3.1. Monitor Machine Parameters
Keep a close eye on the machine’s operating parameters, including temperature, pressure, and cycle times. Documenting these parameters can help identify trends and potential problems.
3.2. Conduct Regular Maintenance
Regular maintenance is key to preventing problems. Establish a maintenance schedule that includes:
- Cleaning the machine components
- Lubricating moving parts
- Inspecting for wear and tear
3.3. Perform Material Checks
Ensure that the materials used are of high quality and suitable for the application. Check for moisture content and contamination before processing.
4. Troubleshooting Specific Issues
If you encounter specific issues, follow these troubleshooting tips:
4.1. For Poor Surface Finish
- Adjust processing conditions: Check the temperature and pressure settings.
- Change materials: Experiment with different grades of plastic for better surface quality.
4.2. For Short Shots
- Review mould design: Ensure the design allows for complete filling.
- Increase material flow: Consider using a hotter material or increasing the injection speed.
4.3. For Flashing
- Check clamp integrity: Ensure the clamps are functioning properly and hold the mould securely.
- Inspect the mould edges: Look for any irregularities that may cause leakage.
4.4. For Warping
- Evaluate cooling system: Ensure that cooling channels are unobstructed and functioning.
- Optimize the mould design: Make adjustments to promote even cooling throughout the part.
4.5. For Sink Marks
- Increase injection pressure: Ensure that the part is filled adequately during the injection.
- Adjust cooling times: Allow more time for cooling before ejecting the part from the mould.
5. Preventative Measures for Injection Moulding Problems
Prevention is always better than cure. Here are some preventative measures to consider:
5.1. Regular Training for Operators
Ensure that machine operators are well-trained in both operation and troubleshooting. A knowledgeable team can identify issues early and minimize downtime.
5.2. Implement Quality Control Processes
Establish a quality control system that includes:
- Regular inspections of moulded parts
- Statistical process control (SPC) to monitor production consistency
5.3. Upgrade Equipment
Consider investing in modern machinery equipped with advanced features such as real-time monitoring and automated adjustments. This can significantly reduce the occurrence of common problems.
6. The Role of Material Selection
The choice of material can greatly influence the outcome of the injection moulding process. It’s crucial to select materials that are compatible with the intended application and the moulding machine.
6.1. Understanding Material Properties
Different materials have unique properties, including:
- Viscosity: Affects flow during injection.
- Shrinkage rates: Determines dimensional stability post-moulding.
- Thermal properties: Influences cooling times and temperatures.
6.2. Testing New Materials
Before fully integrating a new material into the production line, conduct small batch tests to evaluate how it performs in the moulding machine.
7. Conclusion
Injection moulding is an efficient manufacturing process, but it comes with its set of challenges. By understanding the common problems associated with injection moulding machines and implementing effective solutions, manufacturers can enhance productivity, reduce waste, and improve product quality. Regular maintenance, proper material selection, and a well-trained workforce are essential for minimizing issues and ensuring the smooth operation of injection moulding processes. With proactive measures, you can keep your injection moulding machines running optimally and achieve the desired outcomes in your production line. read more..


