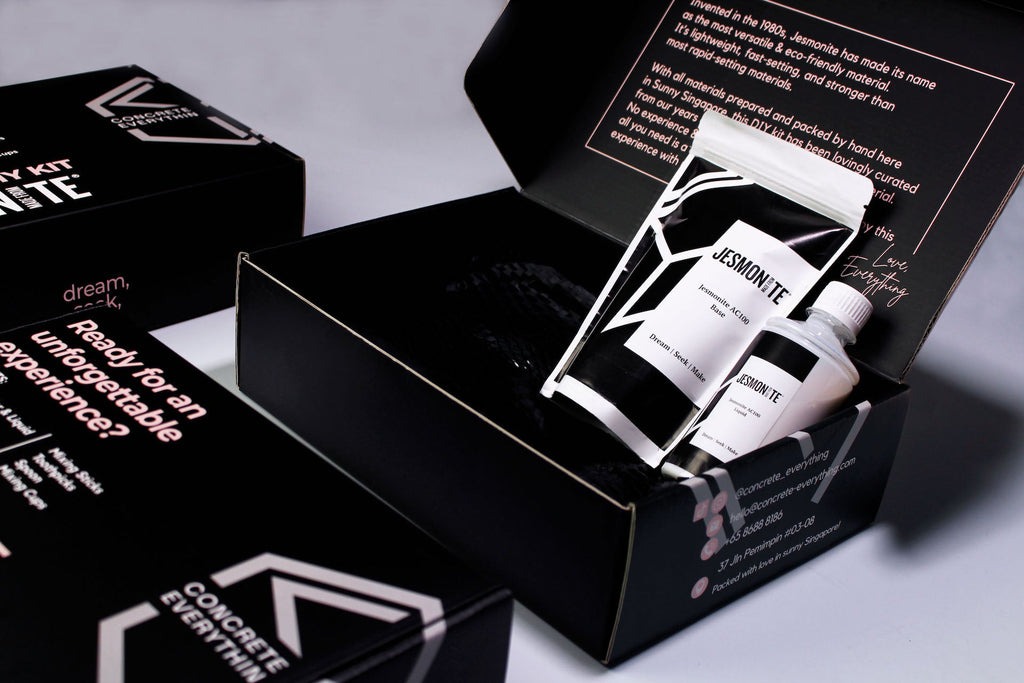
Jesmonite is a versatile casting material made from a blend of gypsum and acrylic resin. It is known for its strength, lightweight properties, and ability to mimic textures like stone or marble.
The History of Jesmonite
Developed in the UK in the 1980s, Jesmonite was initially used in construction and architectural applications. Over time, artists and crafters discovered its potential for creative projects.
Why Choose Jesmonite DIY Kits?
Jesmonite DIY kits offer an accessible way for beginners to dive into crafting. They come with all the necessary materials, making it easy to start creating right away.
Benefits of Using Jesmonite
- Eco-Friendly: Jesmonite is considered more environmentally friendly compared to traditional resins.
- Versatility: It can be colored, textured, and molded into various shapes.
- Safety: Jesmonite emits low levels of volatile organic compounds (VOCs), making it safer for indoor use.

Getting Started with Jesmonite DIY Kits
Before you begin, it’s important to gather all the tools and understand the basics.
Essential Tools and Materials
- Jesmonite Powder and Liquid: The main components of your Jesmonite DIY kit.
- Mixing Bowls and Sticks: For combining the materials.
- Molds: Shapes into which you’ll pour the mixture.
- Protective Gear: Gloves and a mask to ensure safety.
Safety Precautions
Always work in a well-ventilated area and wear protective gloves to prevent skin contact.
Step-by-Step Guide to Using Jesmonite DIY Kits
Preparing Your Workspace
Set up a clean, flat surface covered with newspaper or a plastic sheet. Arrange all your materials within easy reach.
Mixing Jesmonite
- Measure the Components: Follow the instructions in your Jesmonite DIY kit for the correct ratios.
- Combine Materials: Pour the liquid into the bowl first, then add the powder.
- Stir Thoroughly: Mix until you achieve a smooth consistency without lumps.
Pouring and Setting
- Fill the Molds: Gently pour the mixture into your chosen molds.
- Remove Air Bubbles: Tap the molds lightly to release trapped air.
- Allow to Set: Let the molds sit undisturbed for the recommended time, usually around 30 minutes.
Demolding and Finishing
- Carefully Remove from Molds: Gently flex the molds to release your creations.
- Sand Edges if Necessary: Use fine-grit sandpaper to smooth any rough spots.
Exploring Jesmonite Coaster Kits
Jesmonite coaster kits are a popular choice for beginners. They allow you to create functional art pieces for your home.
Designing Your Own Coasters
- Add Pigments: Mix in colors to create custom hues.
- Embed Materials: Incorporate items like dried flowers or glitter for added flair.
Discovering Jesmonite Marbling Kits
Marbling kits take your crafting to the next level by introducing intricate patterns.
Techniques for Marbling Effects
- Prepare Multiple Colors: Divide your mixture and add different pigments.
- Pour Simultaneously: Pour the colored mixtures into the mold at the same time.
- Swirl Gently: Use a stick to create marbled patterns before the mixture sets.
Tips and Tricks for Beginners
- Work Quickly: Jesmonite sets fast, so have your plan ready.
- Clean Up Immediately: Wash your tools before the material hardens.
- Experiment: Don’t be afraid to try new techniques and designs.
Caring for Your Jesmonite Creations
To keep your pieces looking their best, wipe them with a damp cloth and avoid prolonged exposure to water.
Conclusion
Jesmonite DIY kits provide a fantastic opportunity to explore your creativity. Whether you’re making coasters or experimenting with marbling effects, these kits offer endless possibilities for artistic expression.


